Step 2: Export recording
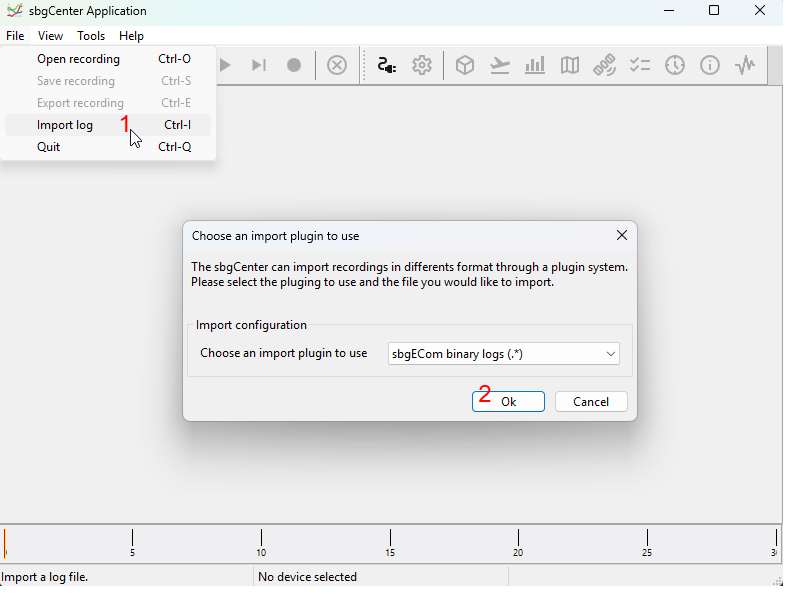
Once your binary log is imported, go to File→Export recording (Ctrl+E) to export your data as a .txt file.
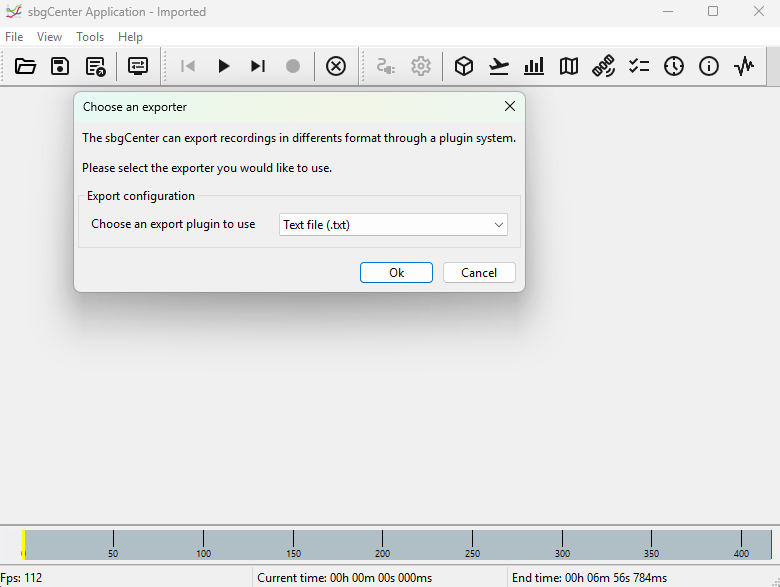
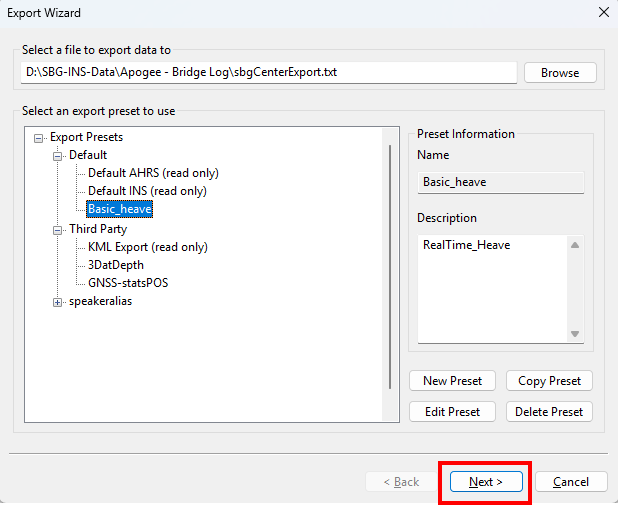
Once you click Ok, you will be taken to the Export Wizard screen.
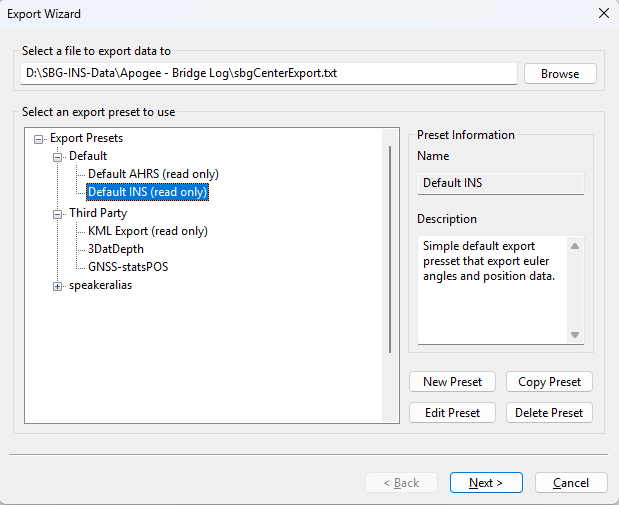
Select the location and name of the file you will be exporting the data to. You can choose one of the default AHRS or INS export presets, or create your own preset as follows:
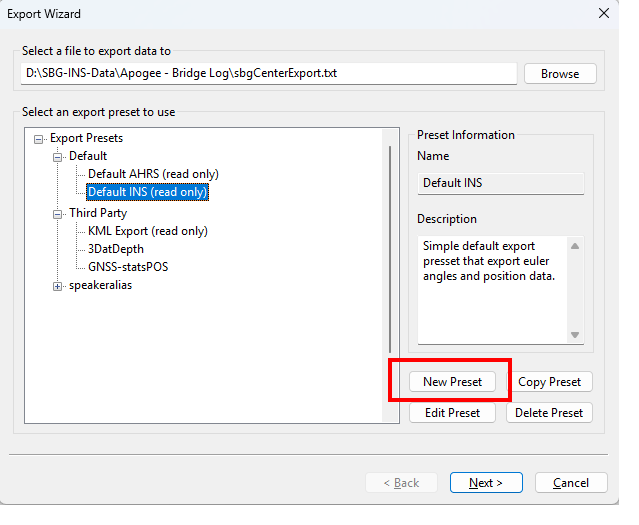
Create a New Preset for Heave
Select New Preset. You will then be taken to the export preset editor.
1. Add the desired header, footer, end of line, and separator. If the data will be used in CSV format, choose Comma as the separator.
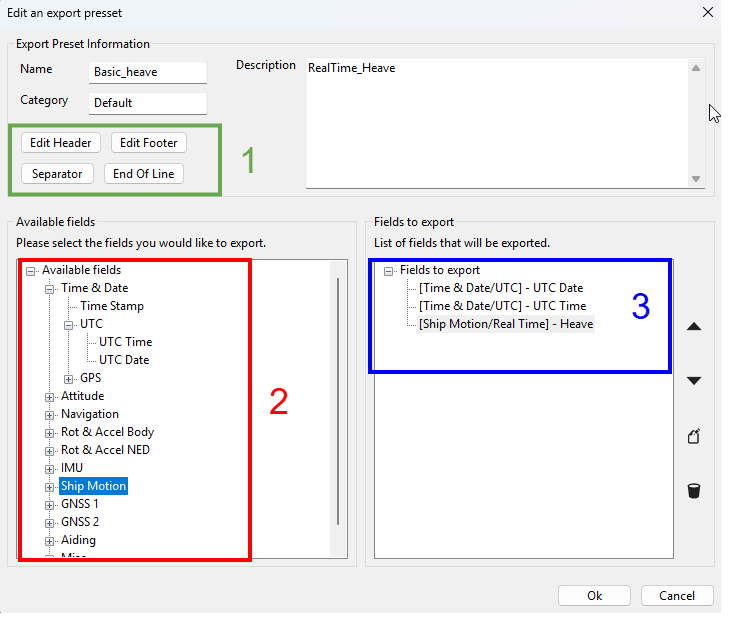
2. In the "Available Fields" section, double click on UTC Date, UTC Time, and Delayed Heave, in this order.
3. The fields will appear in the "Fields to export" section on the right in the order they were selected. The order can be rearranged by using the arrows to the right of that section.
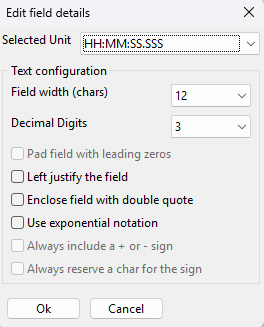
You can double click on each field in the right section to customize it. For example for Heave you can set the UTC time to HH:MM:SS.SSS instead of Time of Week.
Once finished configuring your file format, click Ok.
With your preset selected, click on Next.
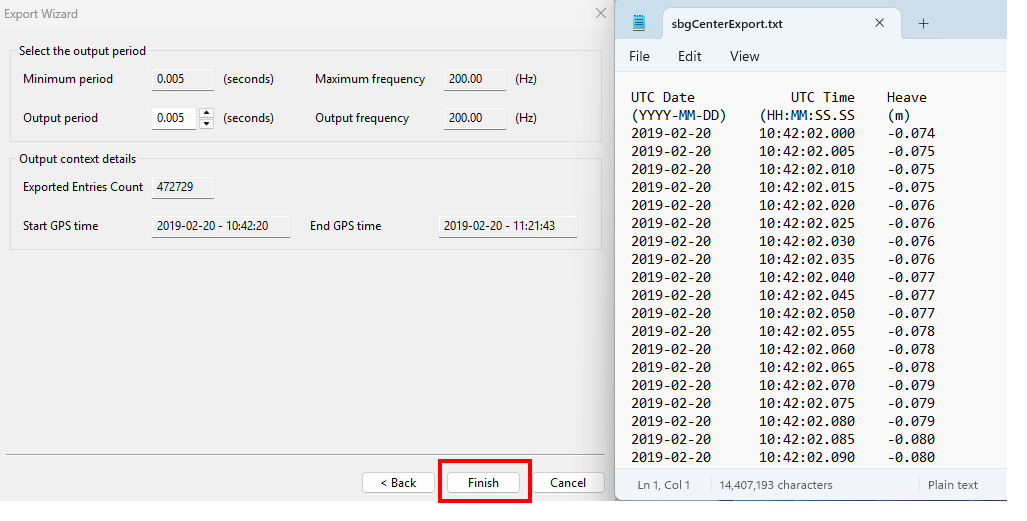
Once the desired output period is selected, click on Finish to export your data.