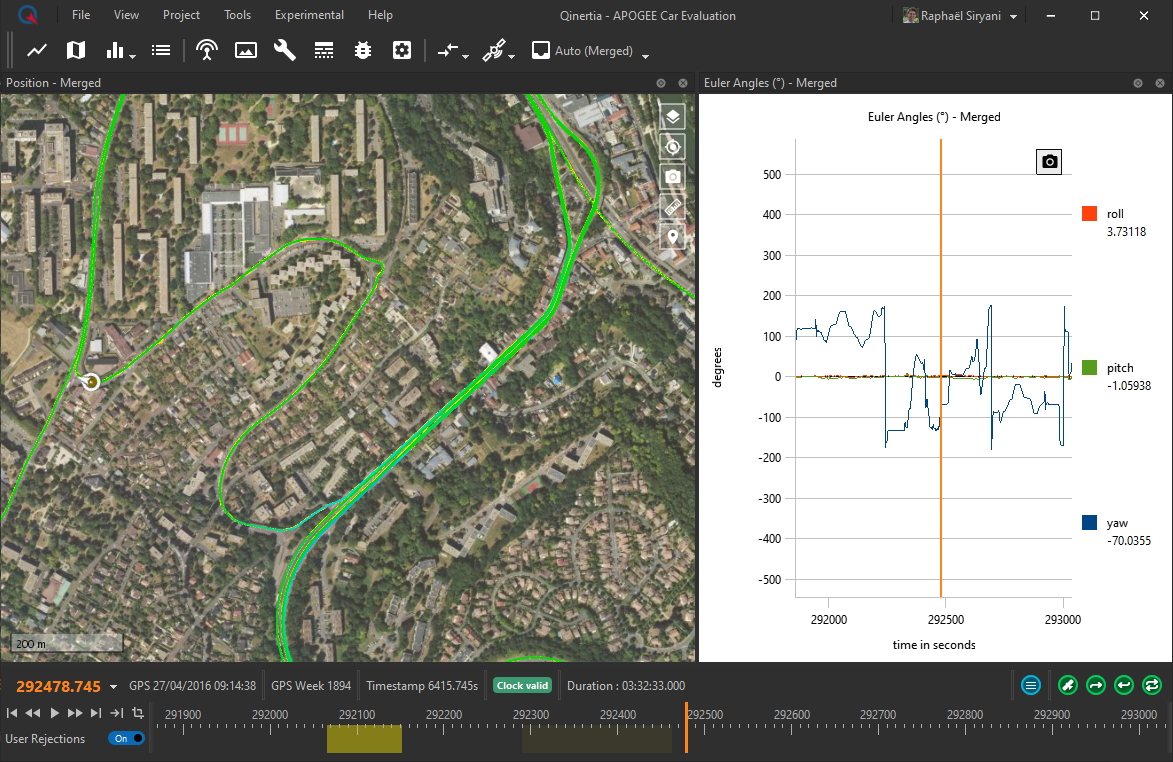
You can easily create one or more manual rejections areas to force the Navigation Filter to ignore aiding information such as GNSS position.
This advanced feature might be helpful to validate the INS behavior and installation as well as for troubleshooting purposes.
Creating a rejection
Creating a rejection area is quite straightforward and uses the same principle as defining an export or analysis span. First, you should define a time span using one of the three methods below:
- From the time line by clicking and holding the left mouse button
- From the trajectory by clicking and holding the left mouse button on the trajectory
- From a time series plot by holding the shift key and using the left mouse button
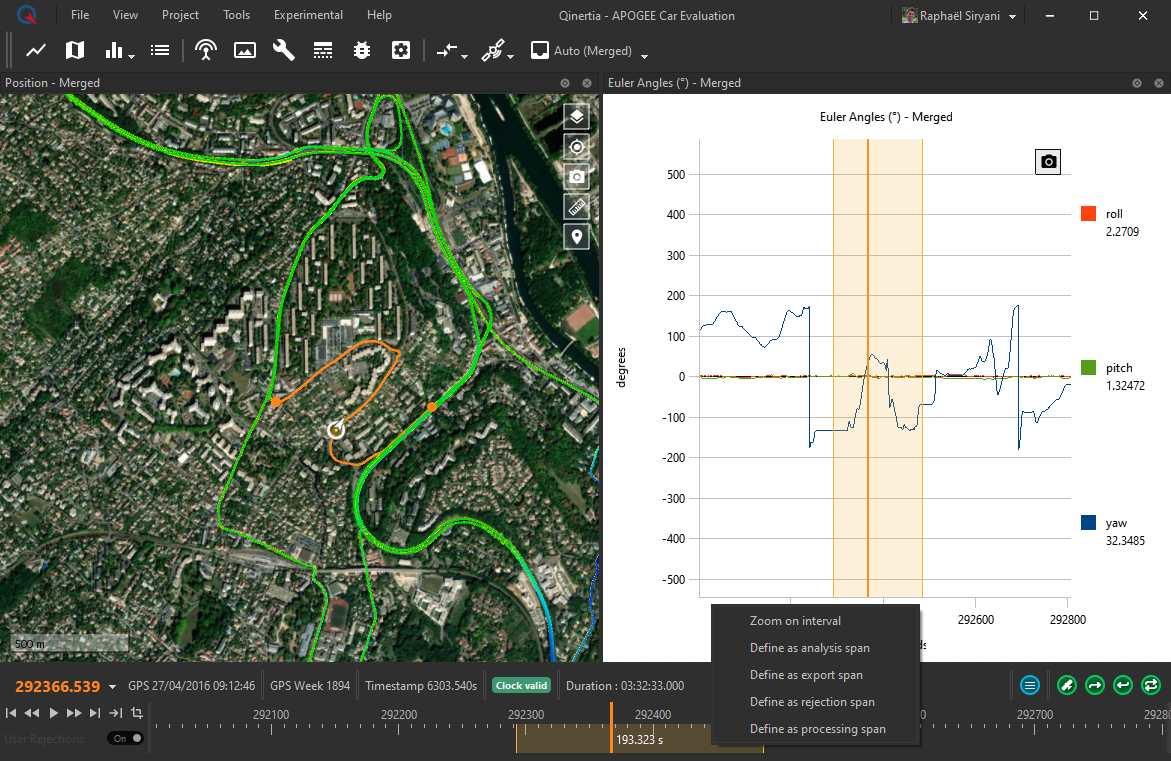
Once you have defined a time span, simply right click on it to create a new rejection as shown below:
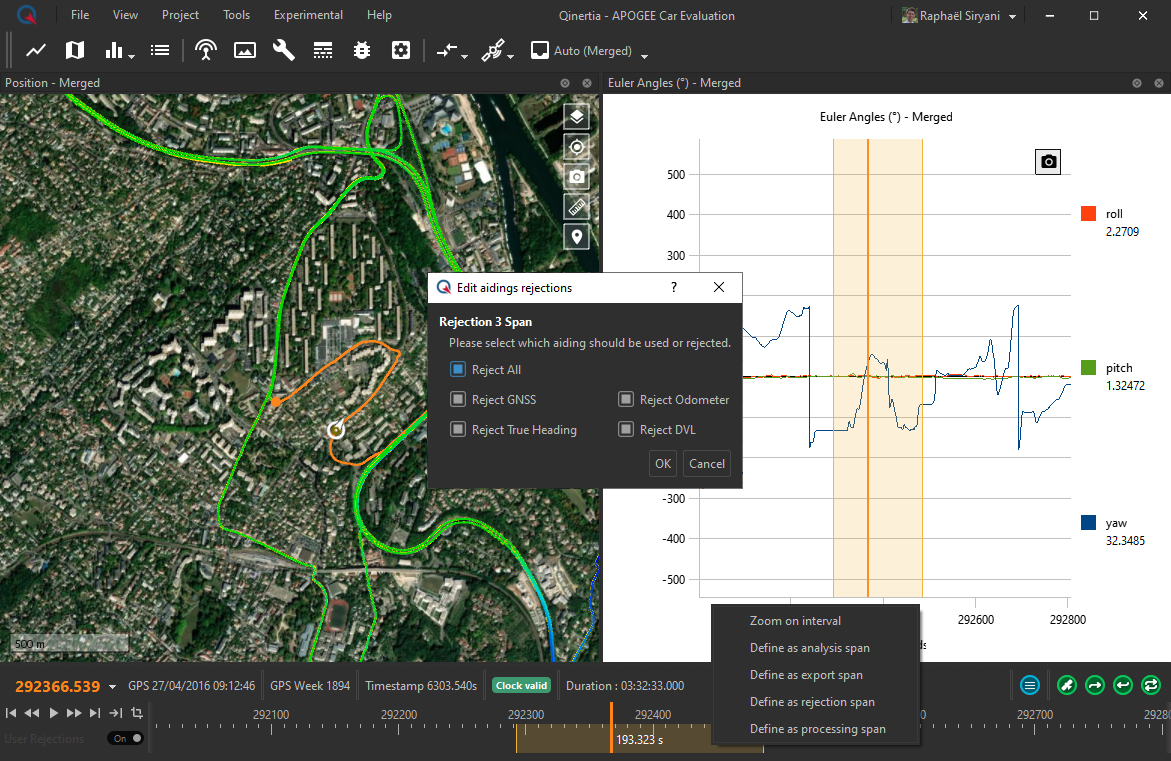
You can then select which aiding should be rejected according to your needs. If you decide to reject all aiding, the solution will only rely on inertial sensor integration.
Editing a rejection
All created rejections area are displayed in the time line using a yellow overlay. You can highlight and edit a rejection at any time by either double clicking on it or by right clicking on it. In the screenshot below, two rejections areas have been created and the second one is highlighted:
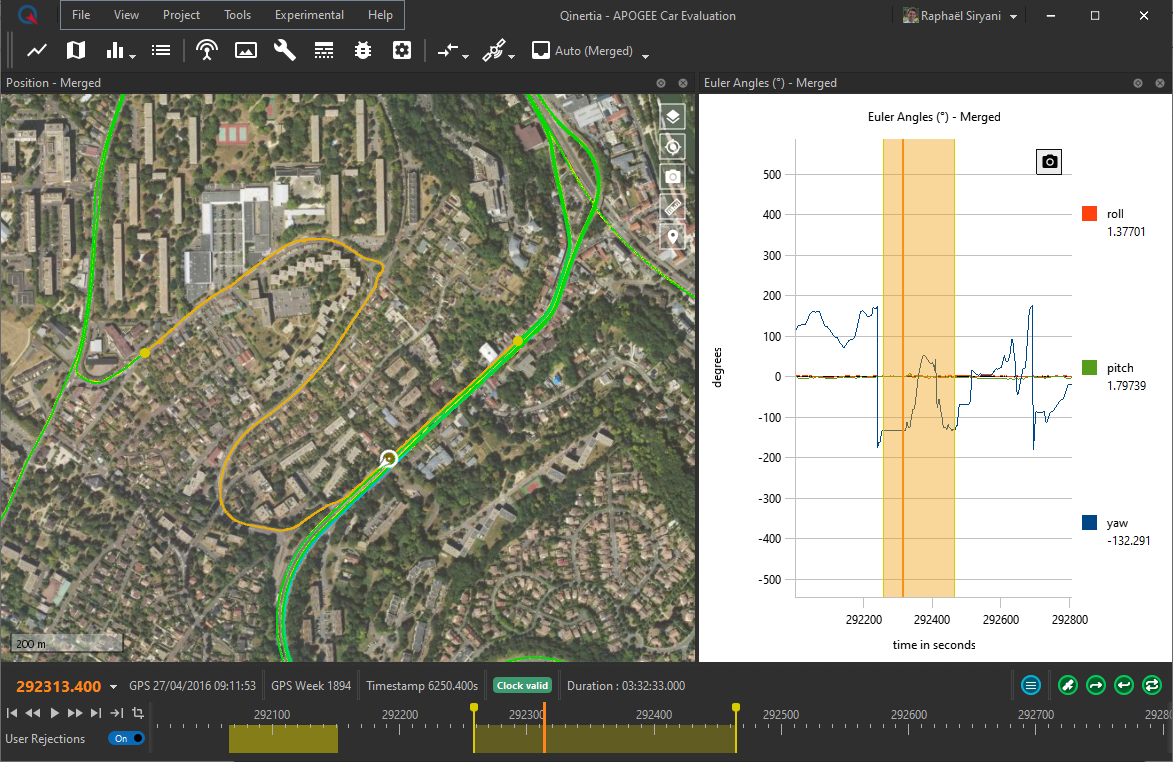
If you double click on a rejection, you can edit the first/last time either using the two anchors that have appears on the time line or directly from the trajectory map. You can also finely define the first/last time by clicking on the anchors in the time line as show in the screen below:
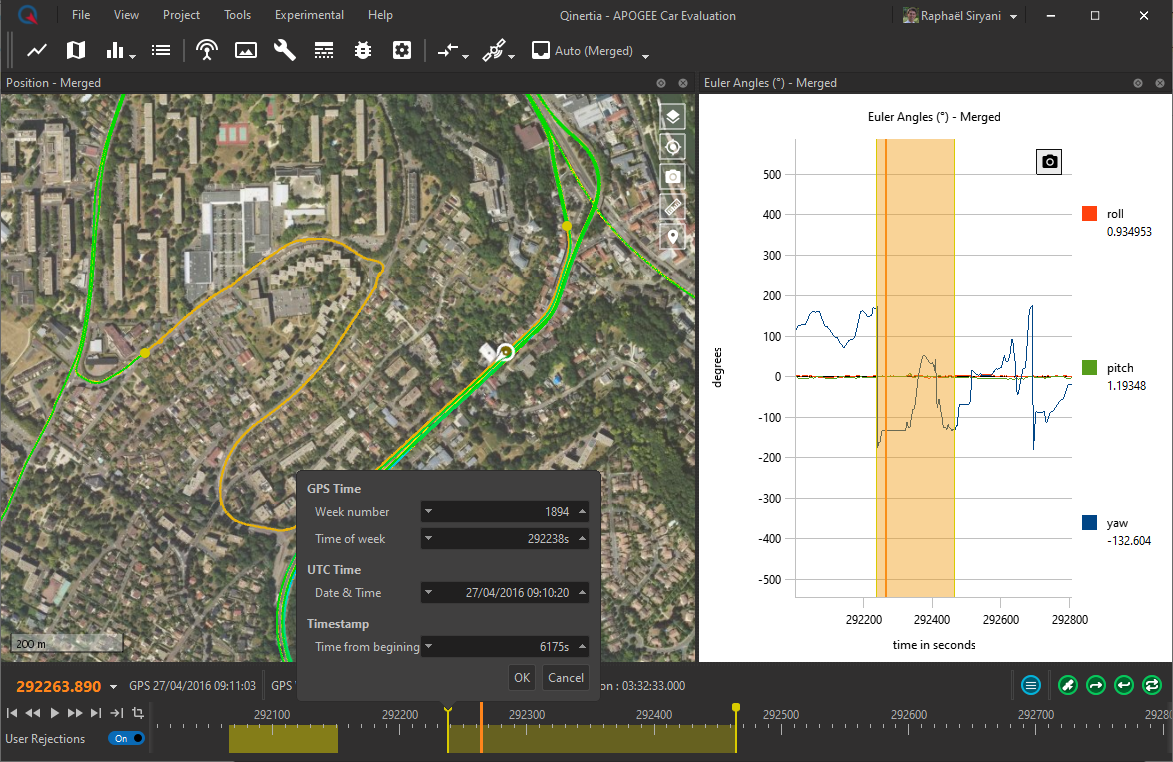
Right clicking on a rejection lets you access a contextual menu to edit which aiding are rejected or not, deleting the rejection, editing the first/last time and accessing helpful zoom/focus options.
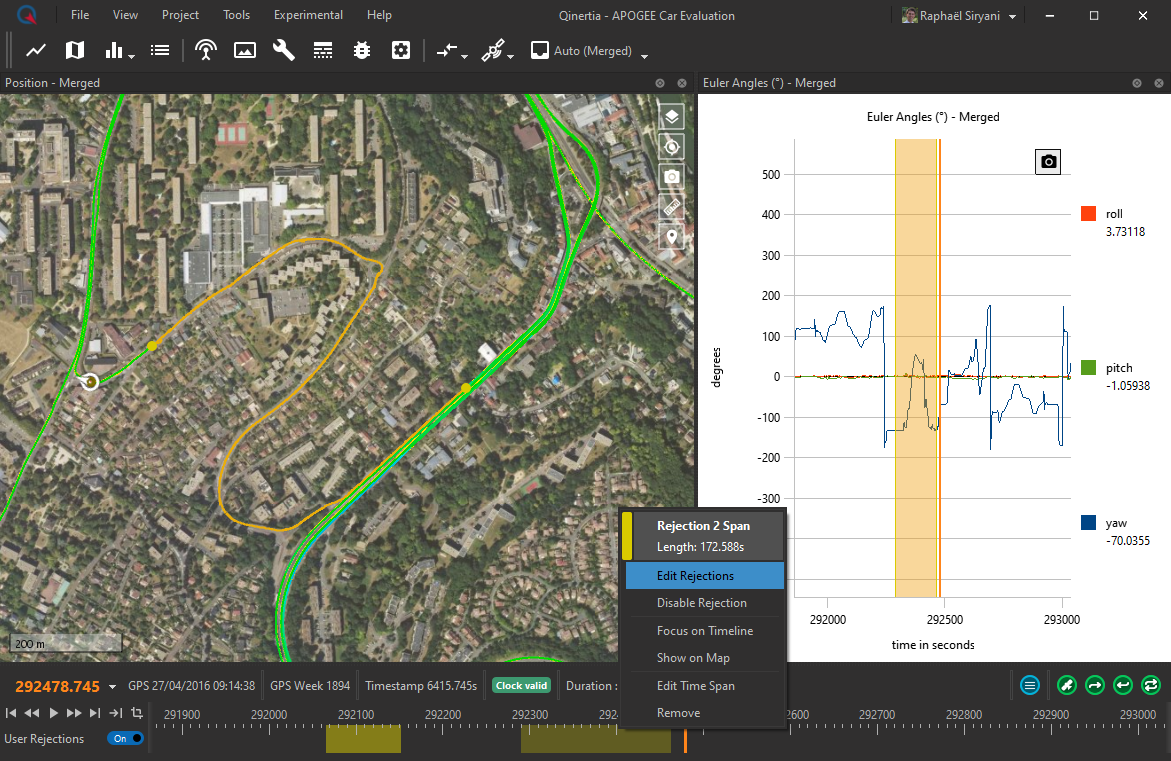
Disabling Rejections
You can disable all user defined rejection areas with a simple master switch. This switch is located in the bottom left corner of the application right below the time controls. This master switch is very helpful to compare several processing results while keeping defined rejections areas for further tests.
You can also disable a specific rejection without deleting it by right clicking on it and selecting the Disable Rejection contextual menu action. The screenshot below shows two rejection areas. The first one is enabled leading to a pure inertial area and the second one has been disabled allowing GNSS/odometer aiding to be used in the solution:
